How to create a Data Table?
A practical guide to the actual setup
How to create a Data Table
Creating a Data Table is the foundation for reusing data effectively in Uniify. Here is how you build your table from scratch.
Step-by-step guide:
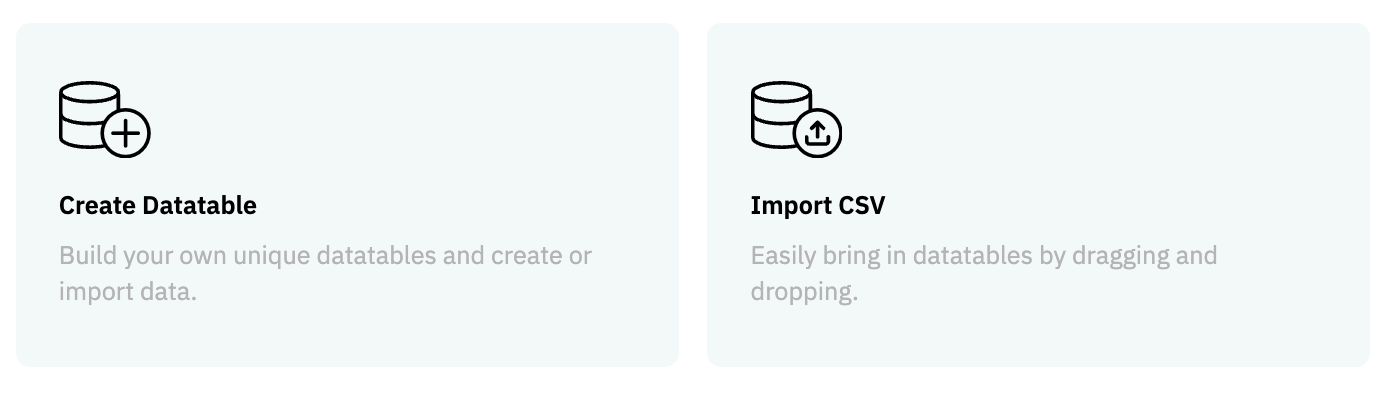
Navigate: Go to Data Tables in the main menu in Uniify.
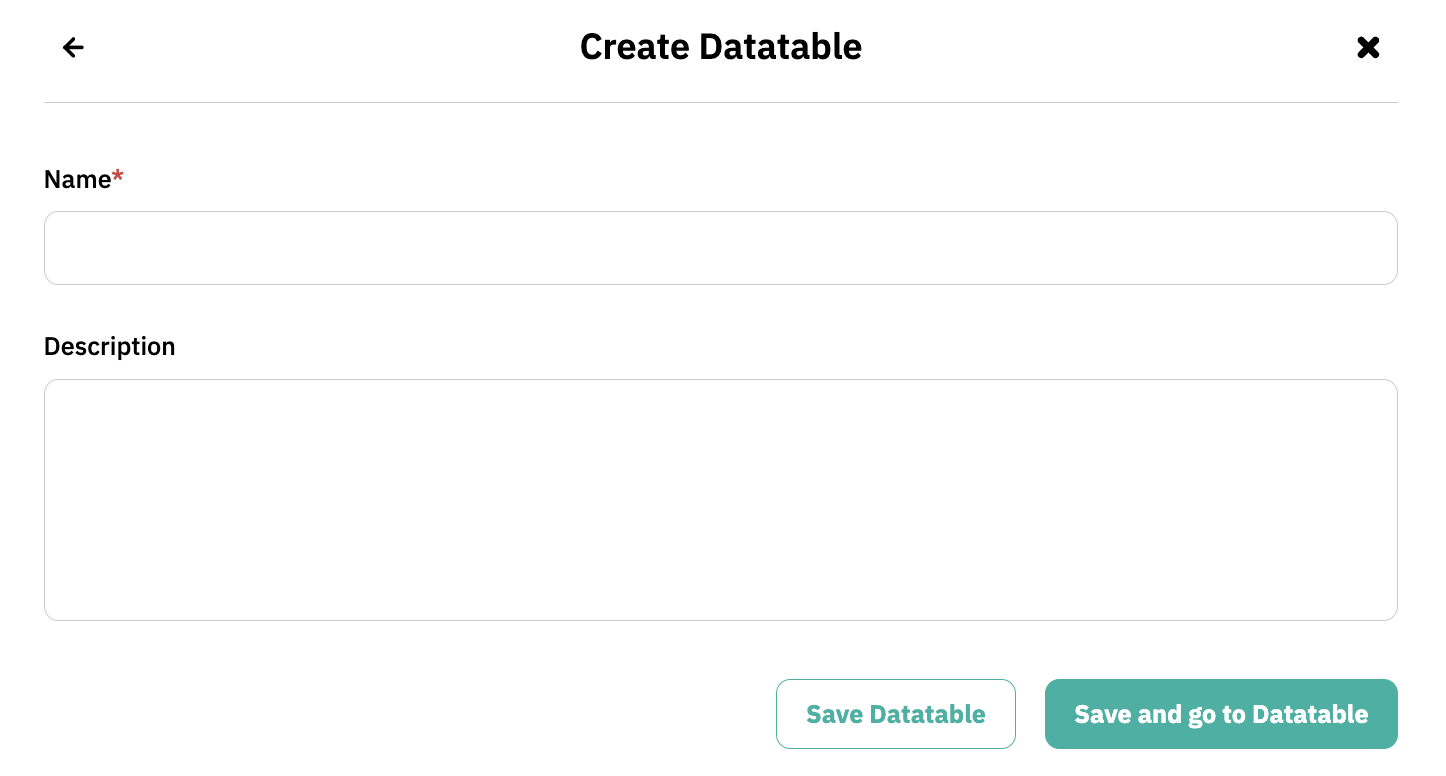
Create: Click the Create Table button (or the "+" icon).
Name your Data Table: Give your Data Table a descriptive name so it’s easily identifiable for the whole team.
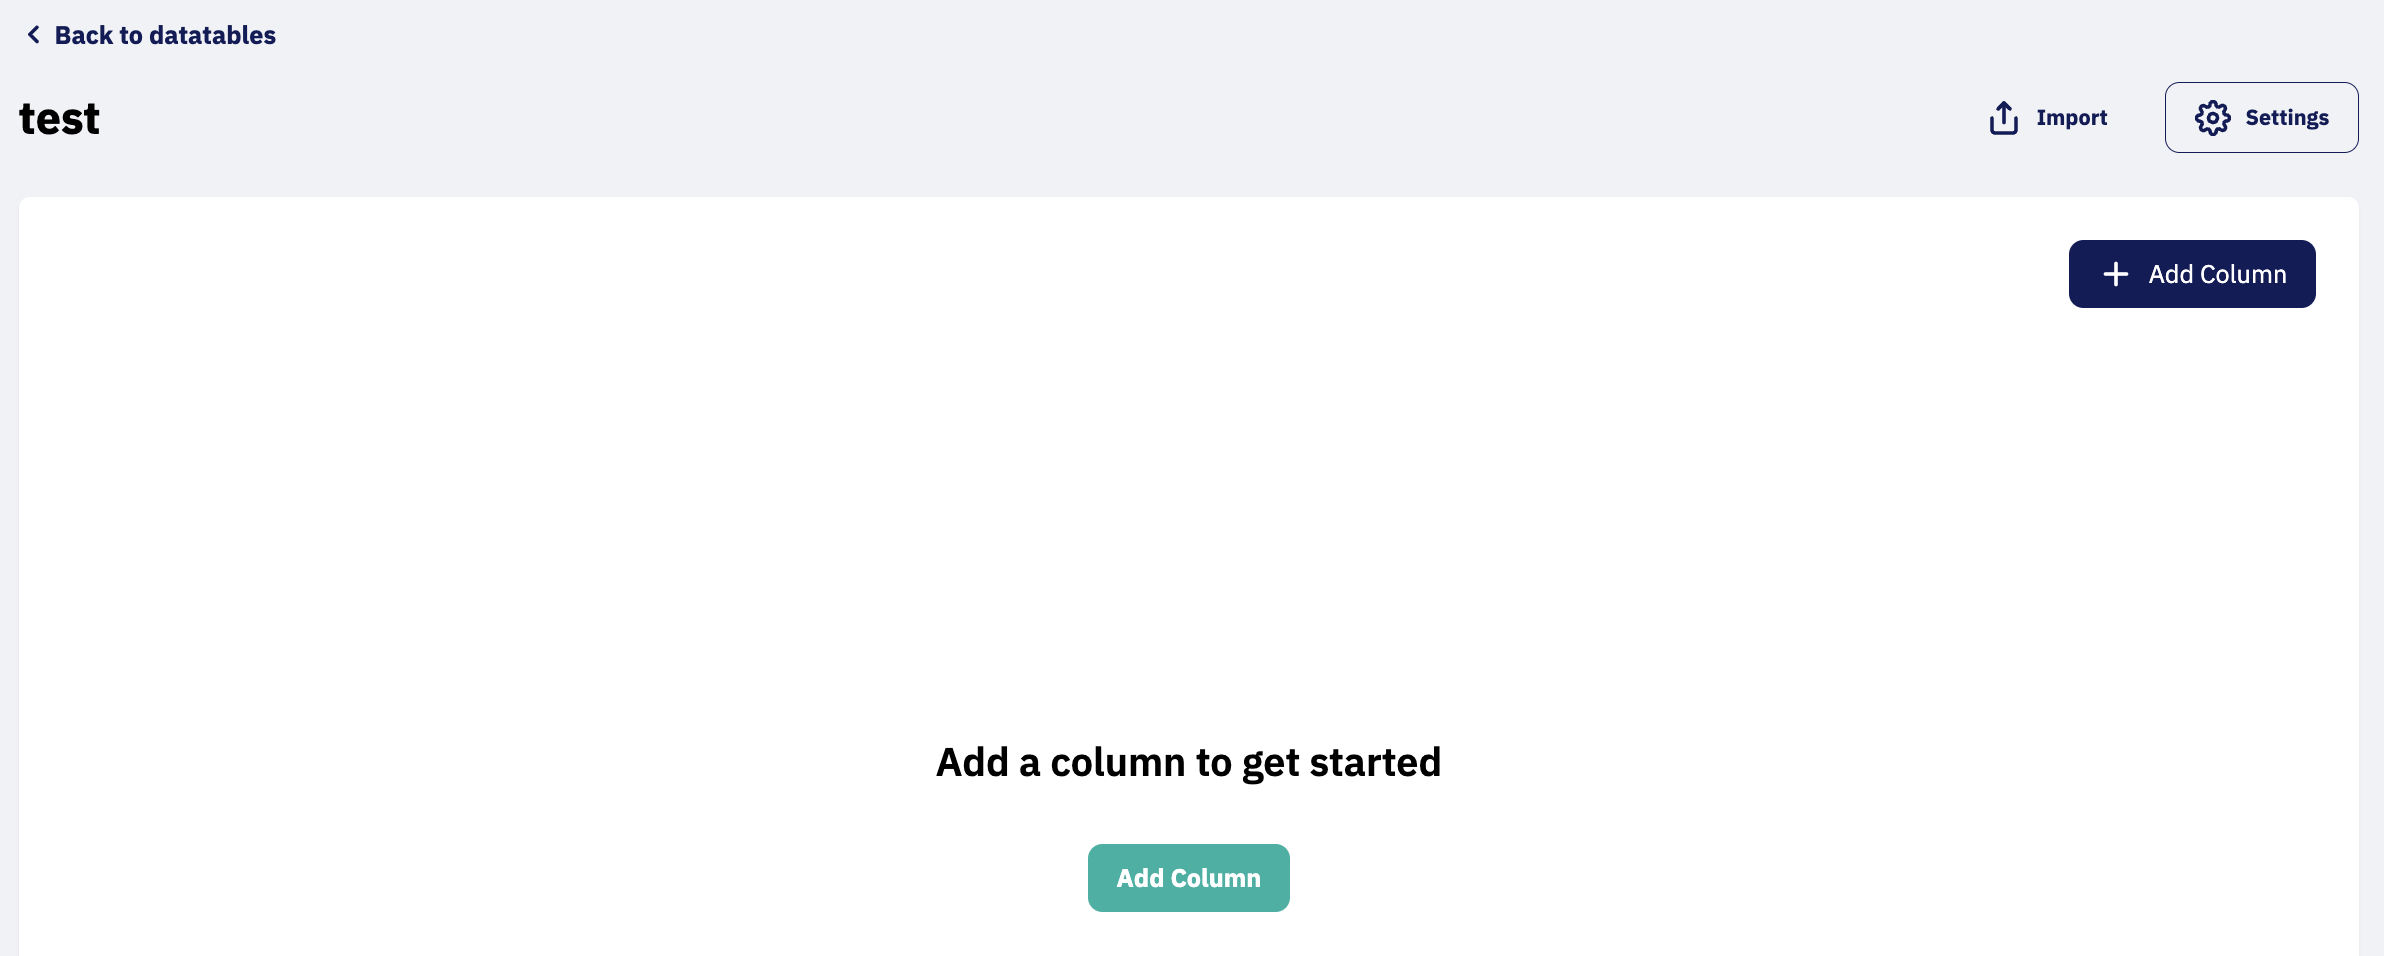
Add Columns: Create the columns you need (e.g., Name, ID Number, Email). You choose the column type to match the data being stored.
Enter Data: You can now begin entering data records manually, just like in a spreadsheet, or prepare the table for an import.
Tip: Think ahead
When creating your columns, it’s a good idea to match them with the fields you have in your flows. This makes it much easier to map and connect the data later on.
Next step: Fill your table with data
Now that the structure of your table is in place, you are ready to get your data into the system. Read here to learn how to easily import your existing data via a CSV file.
Need help with the setup?
You can configure your tables exactly as you wish. If you need guidance on how to structure your columns optimally, we are ready to help via the chat or at support@uniify.io.