Create your first case
Creating a case is the first step in inviting a customer to an onboarding process. A case acts as the central folder where all data, documentation, and communication regarding a specific customer is gathered.
Tip: Test it yourself
The fastest way to get to know Uniify is to create a case for yourself. This gives you direct insight into the customer's experience of the flow and how the data subsequently appears in your dashboard.
1. Kickstart the process
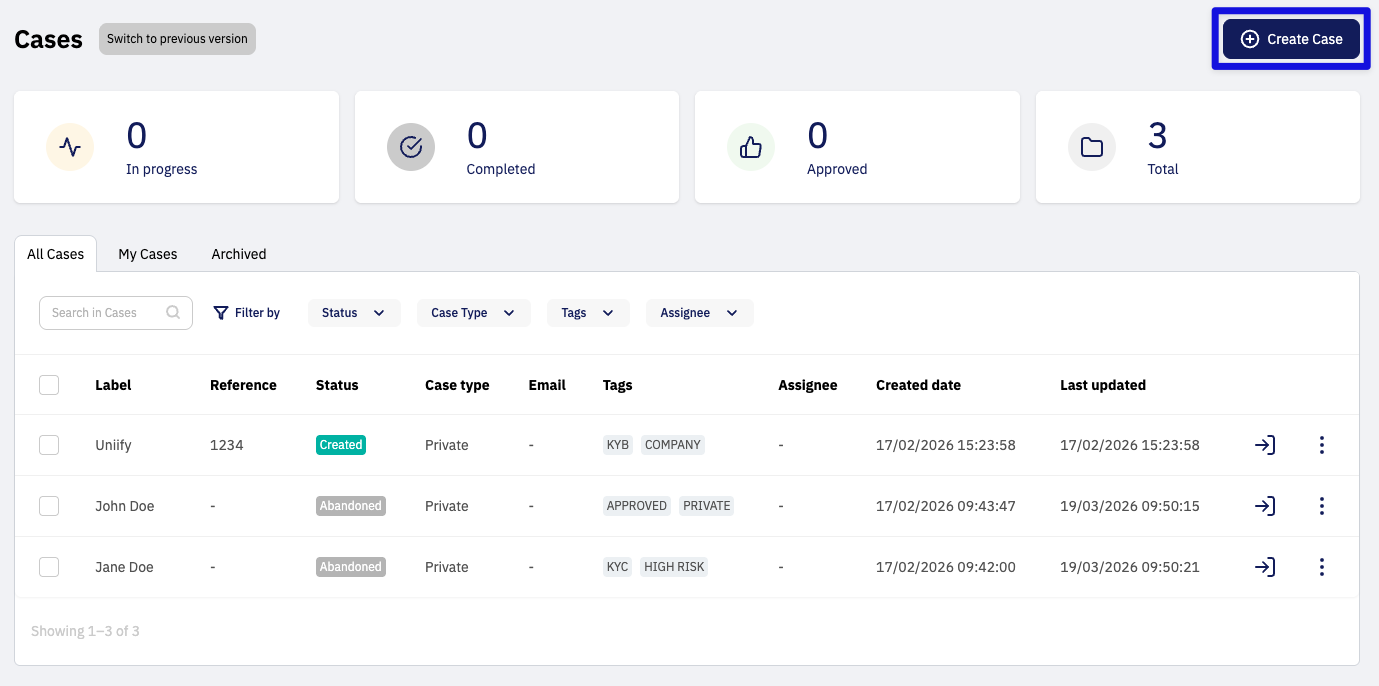
Hop into your dashboard and find the large blue Create Case button in the top right corner:
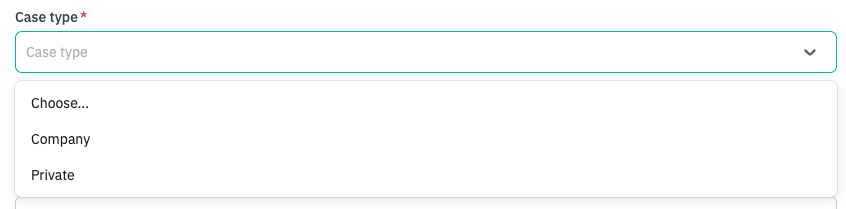
2. Choose Case Type & Name
Select the Case Type you want to use (It helps you maintain a clear overview of your cases). Under Case Label, enter the name of the case (e.g., the customer's name) for easy identification.

3. Add a reference (Optional)
Use the External Reference field (e.g., your own internal case number). You’ll thank yourself later when you need to find the case in a heartbeat!

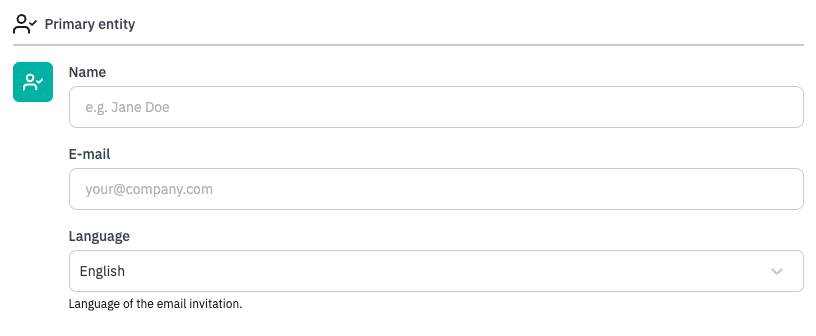
4. Primary entity (The recipient)
Enter the name and email address of the person receiving the invitation. Select the language for the invitation and the flow.
5. Choose the perfect customer journey
Under Flow, select the template your customer should go through. This automatically guides them through all the essentials.
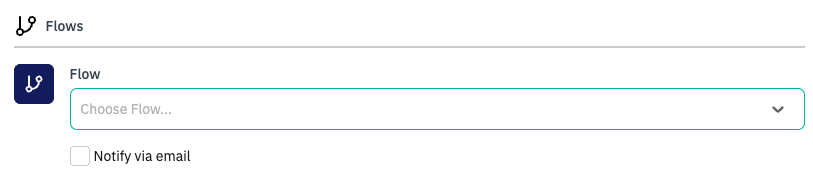
6. Send the invitation
If you’ve entered an email in the primary entity and selected "Notify via email", a professional invitation is now on its way to the customer's inbox when you click Create case
Make a great first impression
Did you know that we can create a unique email invitation for each of your flows?
Read here how we help you with Email invitations
Prefer to send the link yourself?
If you want to send the link via your own email or chat:
Create the case without an email address.
Click into the case you just created.
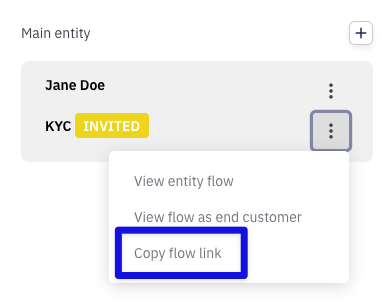
Locate the customer in the panel on the right side, click the three dots, and select "Copy flow link".
What happens next?
Once the invitation is sent, you can sit back and relax. You can now follow the progress and see how far your customer has come in the process.
Track your progress
Check our guide to case statuses here to know exactly when your customer has finished the flow.
Need help getting started?
If you're unsure which case type or flow to choose, don't hesitate to ask. We're happy to help you send your first case correctly. Catch us in the chat or at support@uniify.io.